Using Oracle NoSQL Database with Cloudera Distribution for Hadoop
By Deepak Vohra
Get a test project up and running to explore the basic principles involved.
Introduced in 2011, Oracle NoSQL Database is a highly available, highly scalable, key/value storage based (nonrelational) database that provides support for CRUD operations via a Java API. A related technology, the Hadoop MapReduce framework, provides a distributed environment for developing applications that process large quantities of data in parallel on large clusters.
In this article we discuss integrating Oracle NoSQL Database with Cloudera Distribution for Hadoop (CDH) on Windows OS via an Oracle JDeveloper project (download). We will also demonstrate processing the NoSQL Database data in Hadoop using a MapReduce job.
Setup
The following software is required for this project. Download and install anything on the list you don’t already have according to the respective instructions.
- Oracle NoSQL Database, Community Edition
- Oracle JDeveloper 11.1.2 .1
- Cygwin
- CDH2 (or Apache Hadoop 0.22.0)
- Java SE 7
Install Java 1.7 in a directory (without spaces in its name) in the directory path. Set the JAVA_HOME environment variable.
Configuring Oracle NoSQL Database in Oracle JDeveloper
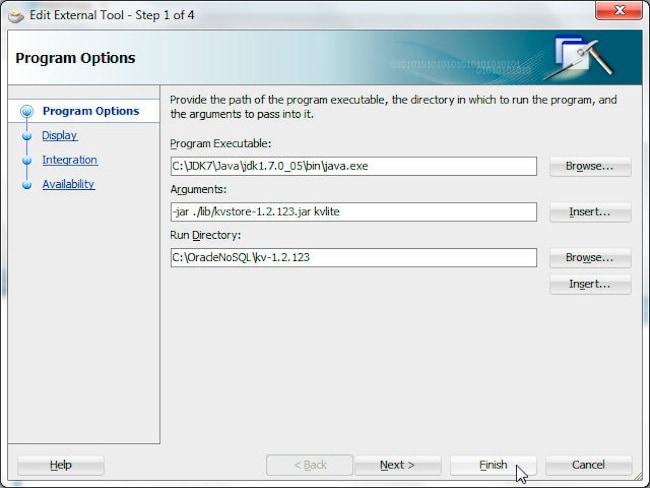
First, we’ll need to configure the NoSQL database server as an external tool in JDeveloper. Select Tools>External Tools. In the External Tools window select New. In the Create External Tool wizard select Tool Type: External Program and click Next. In Program Optionsspecify the following program options.
| Field |
Value
|
Program Executable
|
C:\JDK7\Java\jdk1.7.0_05\bin\java.exe
|
Arguments
|
-jar ./lib/kvstore-1.2.123.jar kvlite
|
Run Directory
|
C:\OracleNoSQL\kv-1.2.123
|
Click Finish in Create External Tools:
Oracle NoSQL Database is now configured as an external tool; the external tool name may vary based on whether other tools requiring the same program executable are also configured. Click on OK in External Tools.
Next, select Tools>Java 1. The Oracle NoSQL Database server starts up and a key-value (KV) store is created.
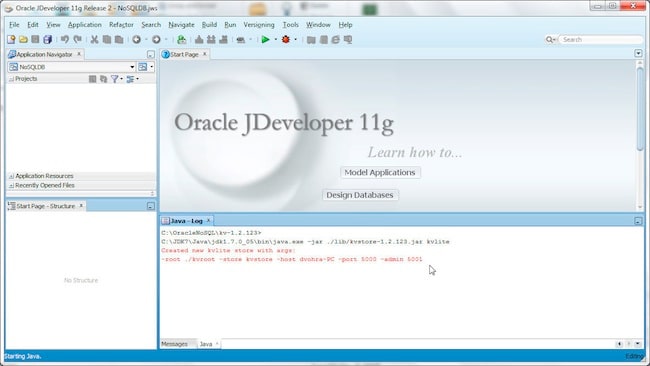
The NoSQL Database store has the following args by default:
Arg
|
Value
|
-root
|
kvroot
|
-store
|
kvstore
|
-host
|
localhost
|
-port
|
5000
|
-admin
|
5001
|
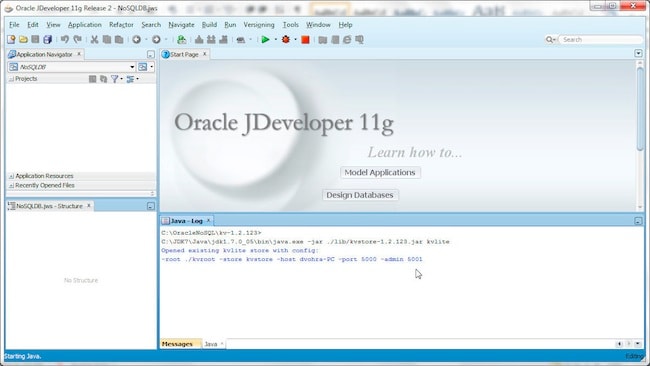
On subsequent runs of the external tool for the NoSQL Database server the existing KV store is opened with the same configuration with which it was created:
Running the HelloBigDataWorld Example
The NoSQL Database package includes some examples in the C:\OracleNoSQL\kv-1.2.123\examples directory. We will run the following examples in this article:
- hello.HelloBigDataWorld
- hadoop.CountMinorKeys
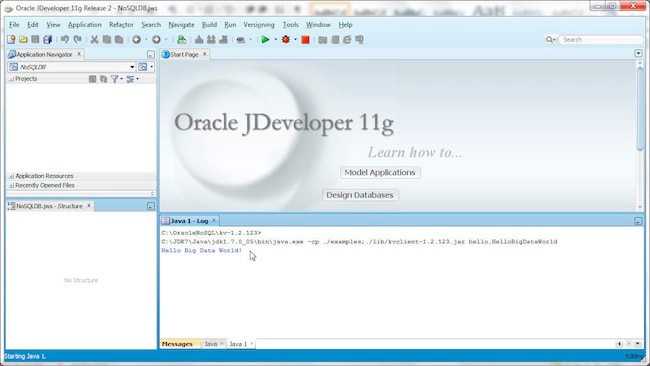
The HelloBigDataWorld example can be run using an external tool configuration or as a Java application.
Using as an External Tool
To run HelloBigDataWorld as an external tool select Tools>External Tools and create a new external tool configuration with the same procedure as with the NoSQL Database server. We need to create two configurations, one for compiling the HelloBigDataWorld file and another for running the compiled application. Specify the following program options for compiling HelloBigDataWorld.
Program Option
|
Value
|
Program Executable
|
C:\JDK7\Java\jdk1.7.0_05\bin\javac.exe
|
Arguments
|
-cp ./examples;./lib/kvclient-1.2.123.jar examples/hello/HelloBigDataWorld.java
|
Run Directory
|
C:/OracleNoSQL/kv-1.2.123
|
The program options for compiling the hello/HelloBigDataWorld.java file are shown below. Click Finish.

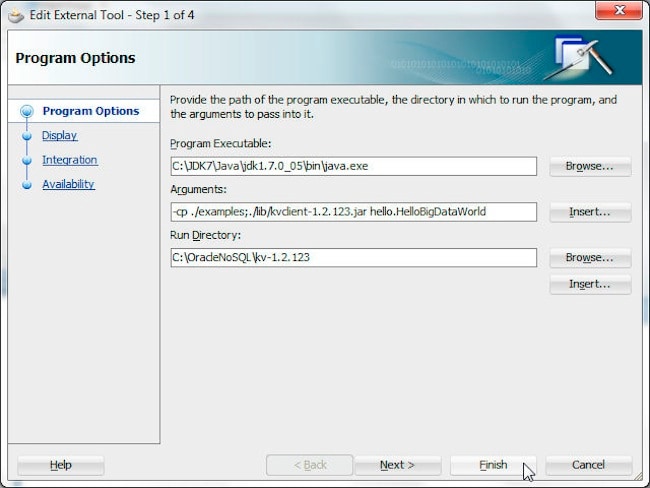
An external tool Javac gets created. Select Tools>Javac to compile the hello/ HelloBigDataWorld.java class. Next, create an external tool for running the hello.HelloBigDataWorld class file using the following configuration.
Program Option
|
Value
|
Program Executable
|
C:\JDK7\Java\jdk1.7.0_05\bin\java.exe
|
Arguments
|
-cp ./examples;./lib/kvclient-1.2.123.jar hello.HelloBigDataWorld
|
Run Directory
|
C:/OracleNoSQL/kv-1.2.123
|
The classpath should include the kvclient-1.2.123.jar file. Click Finish.
To run the hello.HelloBigDataWorld class select Tools>Java. The hello.HelloBigDataWorld application runs and a short message is written.
Running in a Java Application
Next, we will run the hello.HelloBigDataWorld application as a Java application in an Oracle JDeveloper project. To create a new application:
- Select Java Desktop Application in New Gallery.
- Specify an Application Name (e.g., NoSQLDB) and select the default directory. Click Next.
- Specify a Project Name (e.g., NoSQLDB) and click Finish.
Next, create a Java class in the project.
- Select Java Class in New Gallery and click OK.
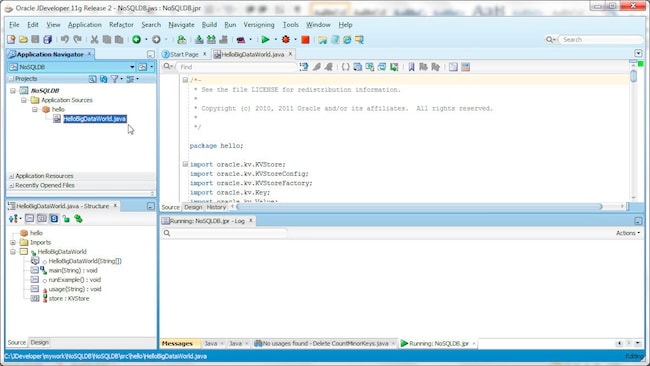
- In Create Java Class specify class name as “HelloBigDataWorld” and package as “hello”. Click OK. The hello.HelloBigDataWorld class is added to the application.
- Copy the hello/HelloBigDataWorld.java file from the C:\OracleNoSQL\kv-1.2.123\examples directory to the class file in Oracle JDeveloper.
In the example application, a new oracle.kv.KVStore is created using the KVStoreFactory class:
store = KVStoreFactory.getStore(new KVStoreConfig(storeName, hostName + ":" + hostPort));
Key/value pairs are created and stored in the KV store:
final String keyString = "Hello";
final String valueString = "Big Data World!";
store.put(Key.createKey(keyString), Value.createValue(valueString.getBytes()));
final String valueString = "Big Data World!";
store.put(Key.createKey(keyString), Value.createValue(valueString.getBytes()));
The key/value are retrieved from the store and output. Subsequently the KV store is closed.
final ValueVersion valueVersion = store.get(Key.createKey(keyString));
System.out.println(keyString + " " + new String(valueVersion.getValue().getValue())+ "\n ");
store.close();
System.out.println(keyString + " " + new String(valueVersion.getValue().getValue())+ "\n ");
store.close();
The hello.HelloBigDataWorld class is shown below.
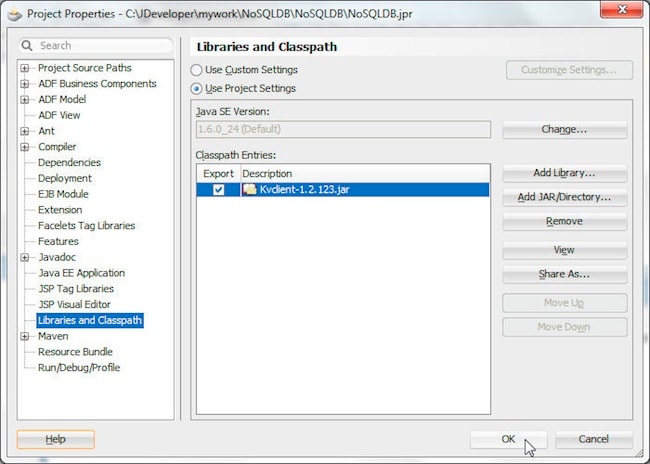
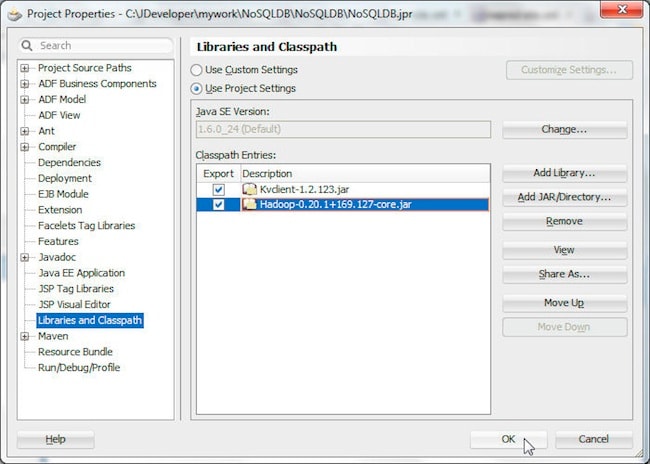
To run the HelloBigDataWorld class add the C:\OracleNoSQL\kv-1.2.123\lib\kvclient-1.2.123.jar file to the Libraries and Classpath.
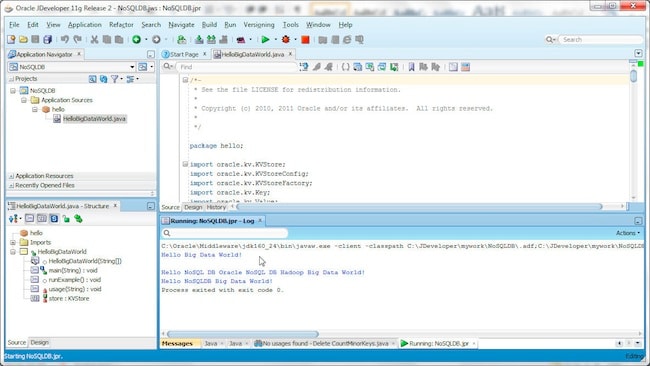
To run the application right-click on the class and select Run. The hello.HelloBigDataWorld class runs and one line of output is generated. The example application creates only one key/value pair.
In the next section we will run the hadoop.CountMinorKeys.java example. To prepare for that, rerun the HelloBigDataWorld example to create additional key/value pairs in the KV store:
Processing NoSQL Database Data in Hadoop
Next, we will run the Hadoop example in C:\OracleNoSQL\kv-1.2.123\examples\hadoop\CountMinorKeys.java. Create a Java class called hadoop/CountMinorKeys.java and copy the \examples\hadoop\CountMinorKeys.java file to that class.
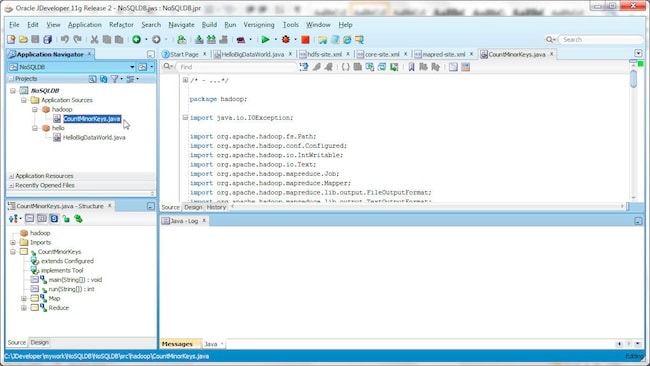
Add the CDH jar file to the project..
Configuring the Hadoop Cluster
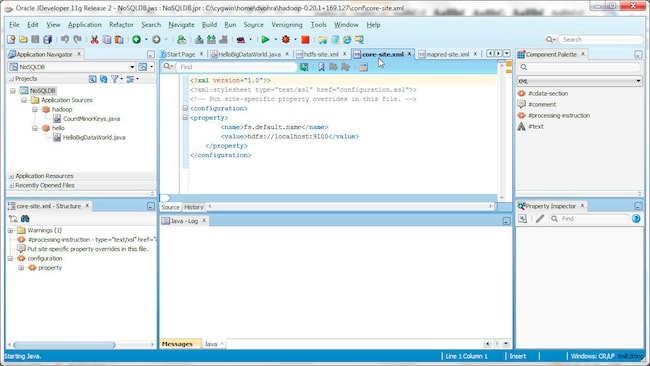
Next, we will configure the Hadoop cluster. In CDH2 there are three configuration files: core-site.xml, mapred-site.xml, and hdfs-site.xml. In the conf/core-site.xml specify the fs.default.name parameter, which is the URI of NameNode.
The core-site.xml is shown below.
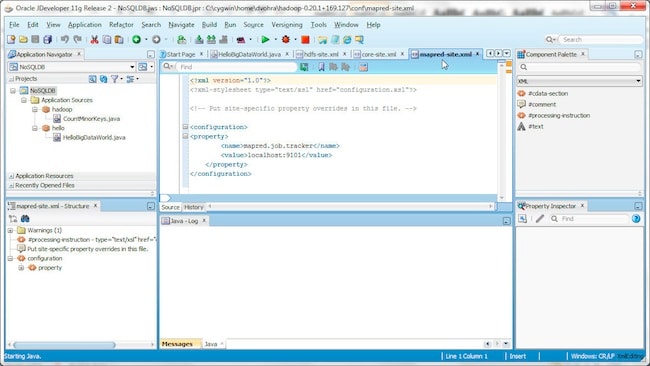
In conf/mapred-site.xml specify the mapred.job.tracker parameter for the Host or IP and port of JobTracker. Specify host as localhost and port as 9101.
The conf/mapred-site.xml is shown below.
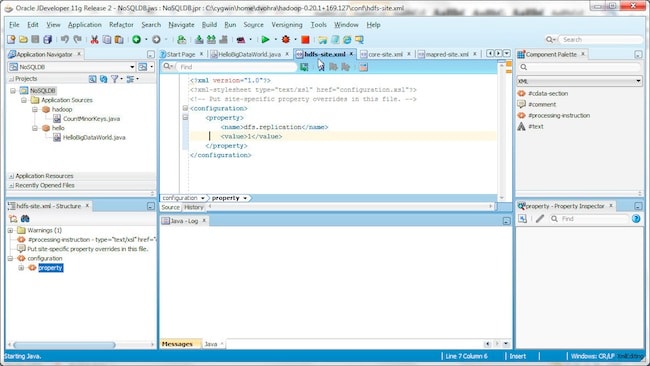
Specify the dfs.replication parameter in conf/hdfs-site.xml configuration file. The dfs.replication parameter specifies how many machines a single file should be replicated to before becoming available. The value should not exceed the number of DataNodes. (We use one DataNode in this example.)
The conf/hdfs-site.xml is shown below.
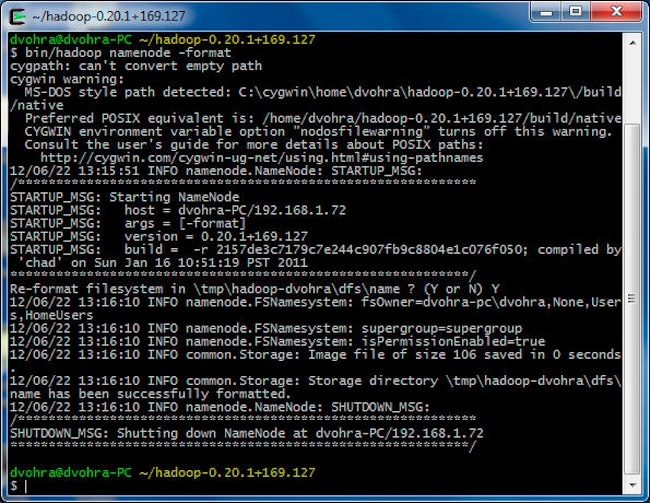
Having configured a Hadoop cluster, we now start the cluster. But, first, we need to create a Hadoop Distributed File System (HDFS) for the files used in processing the Hadoop data. Run the following command in Cygwin.
>cd hadoop-0.20.1+169.127
>bin/hadoop namenode -format
A storage directory, \tmp\hadoop-dvohra\dfs, is created.
- We also need to create a deployment profile for the hadoop.CountMinorKeys application. Select the project node in Application Navigator and select File>New.
- In New Gallery select Deployment Profiles JAR File and click OK.
- In Create Deployment Profile, specify Deployment Profile Name (hadoop) and click OK.
- In Edit JAR Deployment Profile Properties, select the default settings and click OK.
- A new deployment profile is created. Click OK.
To deploy the deployment profile right-click on the NoSQL project and select Deploy>hadoop.
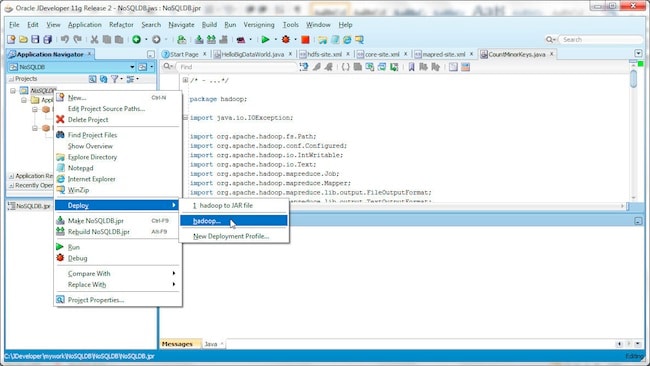
In Deployment Action, select Deploy to JAR file and click Next. Click Finish in Summary. The hadoop.jar gets deployed to the deploy directory in the JDeveloper project. Copy the hadoop.jar to the C:\cygwin\home\dvohra\hadoop-0.20.1+169.127 directory as the application shall be run from the hadoop-0.20.1+169.127 directory in Cygwin.
Starting the Hadoop Cluster
Typically a multi-node Hadoop cluster consists of the following nodes.
Node Name
|
Function
|
Type
|
NameNode
|
For the HDFS storage layer management. We formatted the NameNode to create a storage layer in the previous section.
|
master
|
JobTracker
|
MapReduce data processing management; assigns tasks
|
master
|
DataNode
|
Stores filesystem data, HDFS storage layer processing
|
slave
|
TaskTracker
|
MapReduce processing
|
slave
|
Secondary NameNode
|
Stores modifications to the filesystem and periodically merges the changes with the current HDFS state.
|
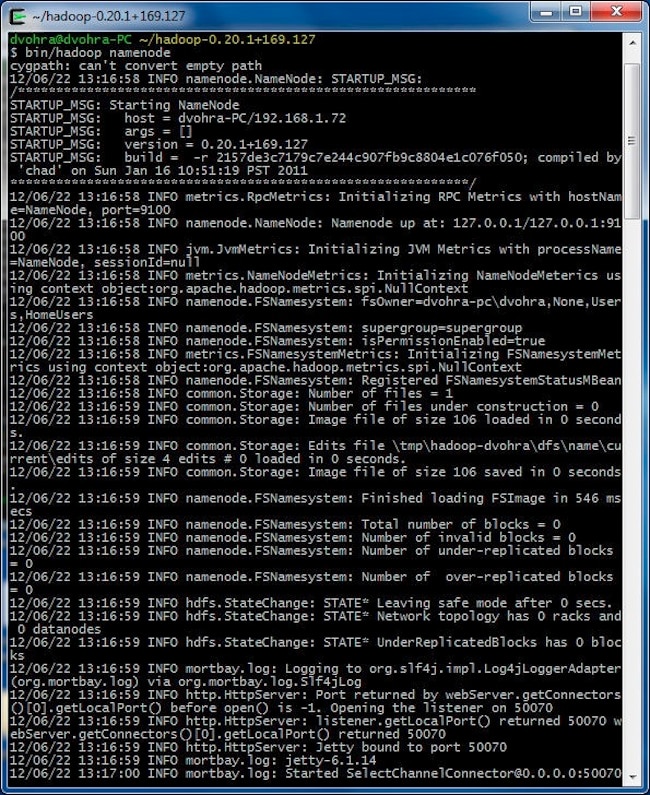
Next, we shall start the nodes in the cluster. To start the NameNode run the following commands in Cygwin.
> cd hadoop-0.20.1+169.127
> bin/hadoop namenode
> bin/hadoop namenode
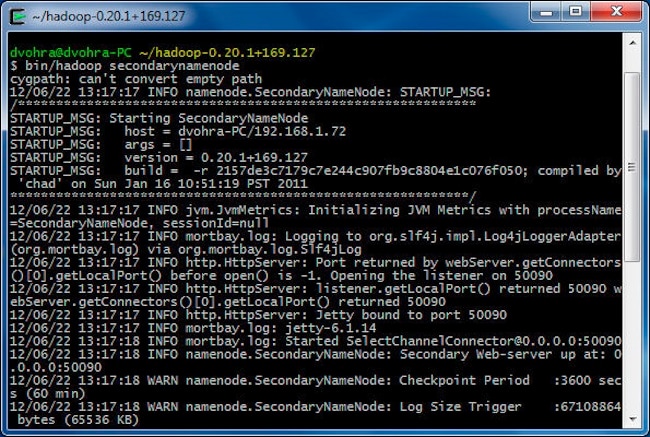
Start the Secondary NameNode with the following commands:
> cd hadoop-0.20.1+169.127
> bin/hadoop secondarynamenode
> bin/hadoop secondarynamenode
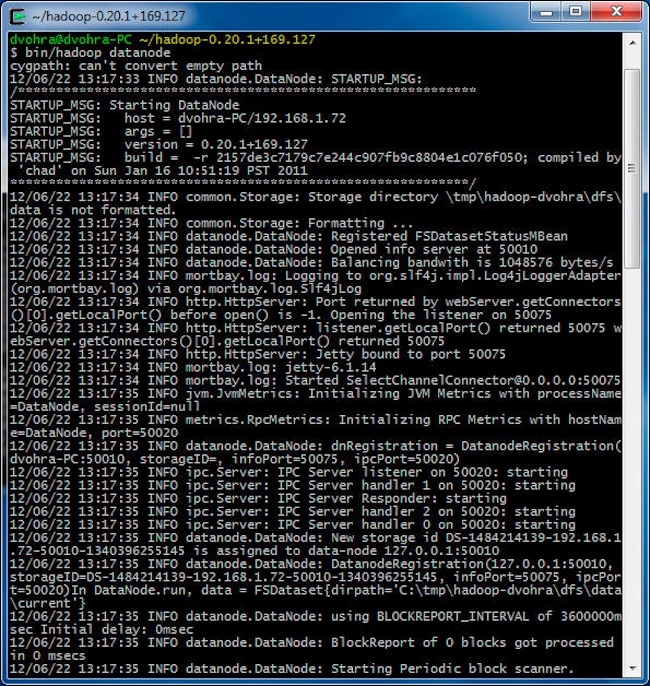
Start the DataNode:
> cd hadoop-0.20.1+169.127
> bin/hadoop datanode
> bin/hadoop datanode
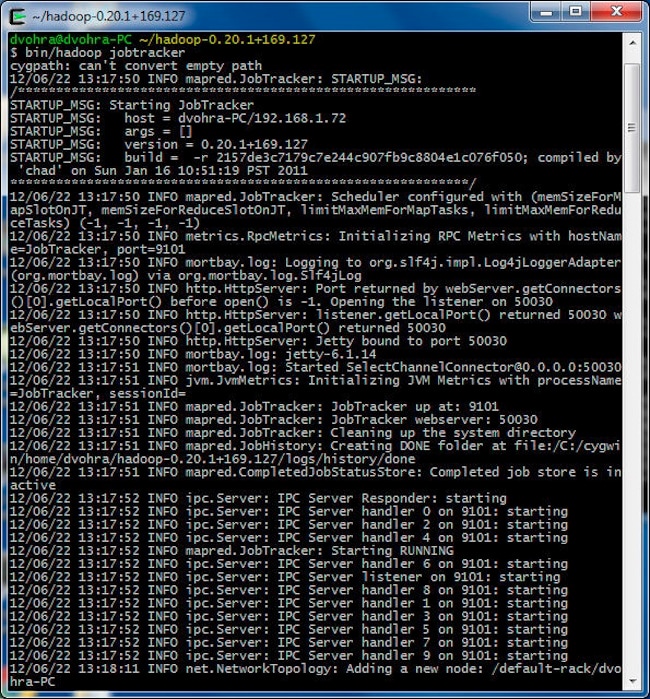
Start the JobTracker :
> cd hadoop-0.20.1+169.127
> bin/hadoop jobtracker
> bin/hadoop jobtracker
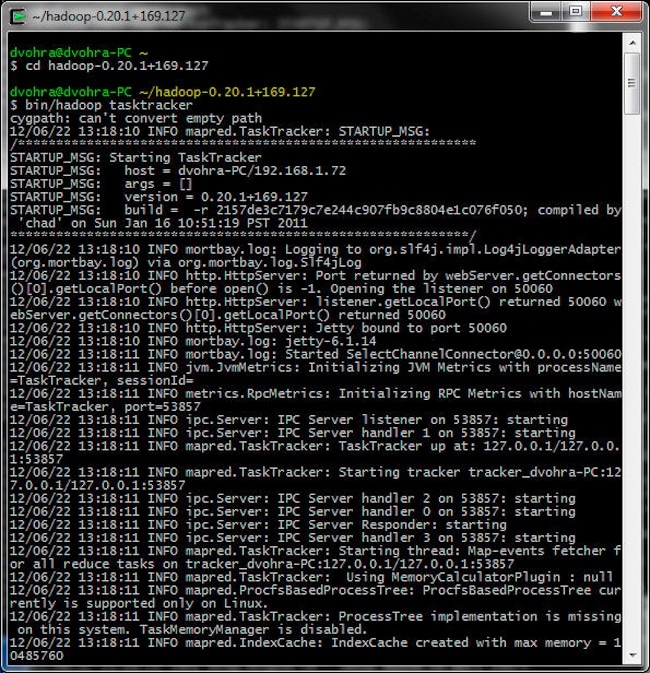
Start the TaskTracker:
> cd hadoop-0.20.1+169.127
> bin/hadoop tasktracker
> bin/hadoop tasktracker
Running a MapReduce Job
Next, we shall run the hadoop.CountMinorKeys application for which created the hadoop.jar file. The hadoop.CountMinorKeys application runs a MapReduce job on the Oracle NoSQL Database data in the KV store and generates an output in the Hadoop HDFS. The NoSQL Database server Java API is in the kvclient-1.2.123.jar directory. Copy the kvclient-1.2.123.jar from the C:\NoSQLDB\kv-1.2.123\lib directory to the C:\cygwin\home\dvohra\hadoop-0.22.0\lib directory, which is in the classpath of Hadoop. Run the hadoop.jar with the following commands in Cygwin.
> cd hadoop-0.20.1+169.127
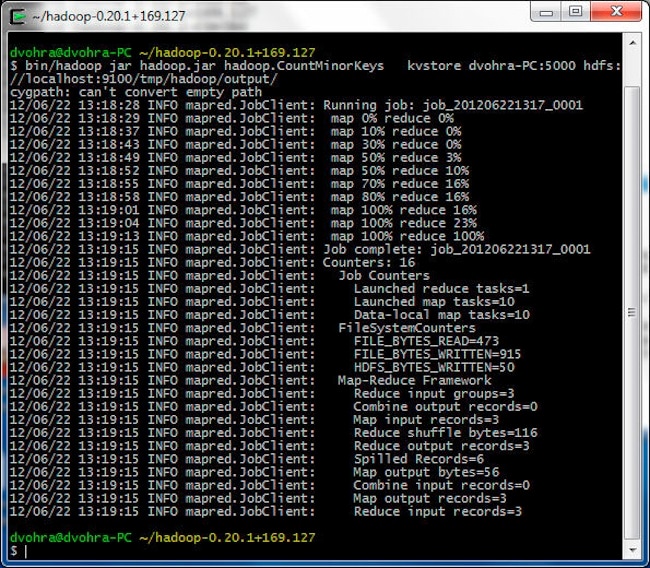
> bin/hadoop jar hadoop.jar hadoop.CountMinorKeys kvstore dvohra-PC:5000 hdfs://localhost:9100/tmp/hadoop/output/
> bin/hadoop jar hadoop.jar hadoop.CountMinorKeys kvstore dvohra-PC:5000 hdfs://localhost:9100/tmp/hadoop/output/
The MapReduce job runs and the output is generated in the hdfs://localhost:9100/tmp/hadoop/output/ directory.
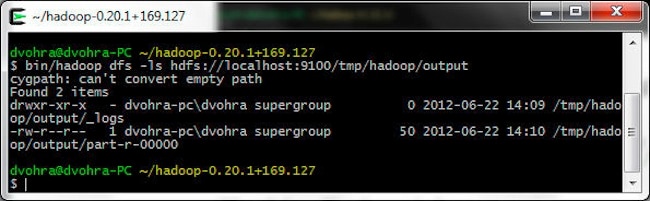
List the files in the temp/hadoop/output directory with the following command.
> bin/hadoop dfs -ls hdfs://localhost:9100/tmp/hadoop/output
The MapReduce job output is generated in the part-r-00000 file, which gets listed with the previous command.
Get the part-r-00000 file to the local filesystem with the command:
bin/hadoop dfs -get hdfs://localhost:9100/tmp/hadoop/output/part-r-00000 part-r-00000
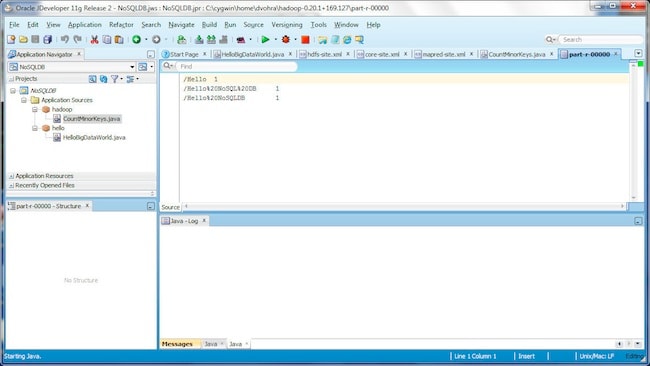
The MapReduce job ouput is shown in Oracle JDeveloper; the output lists the number of records for each major key in the KV store, which was created with the first example application, hello.HelloBigDataWorld.
Congratulations, your project is complete!


